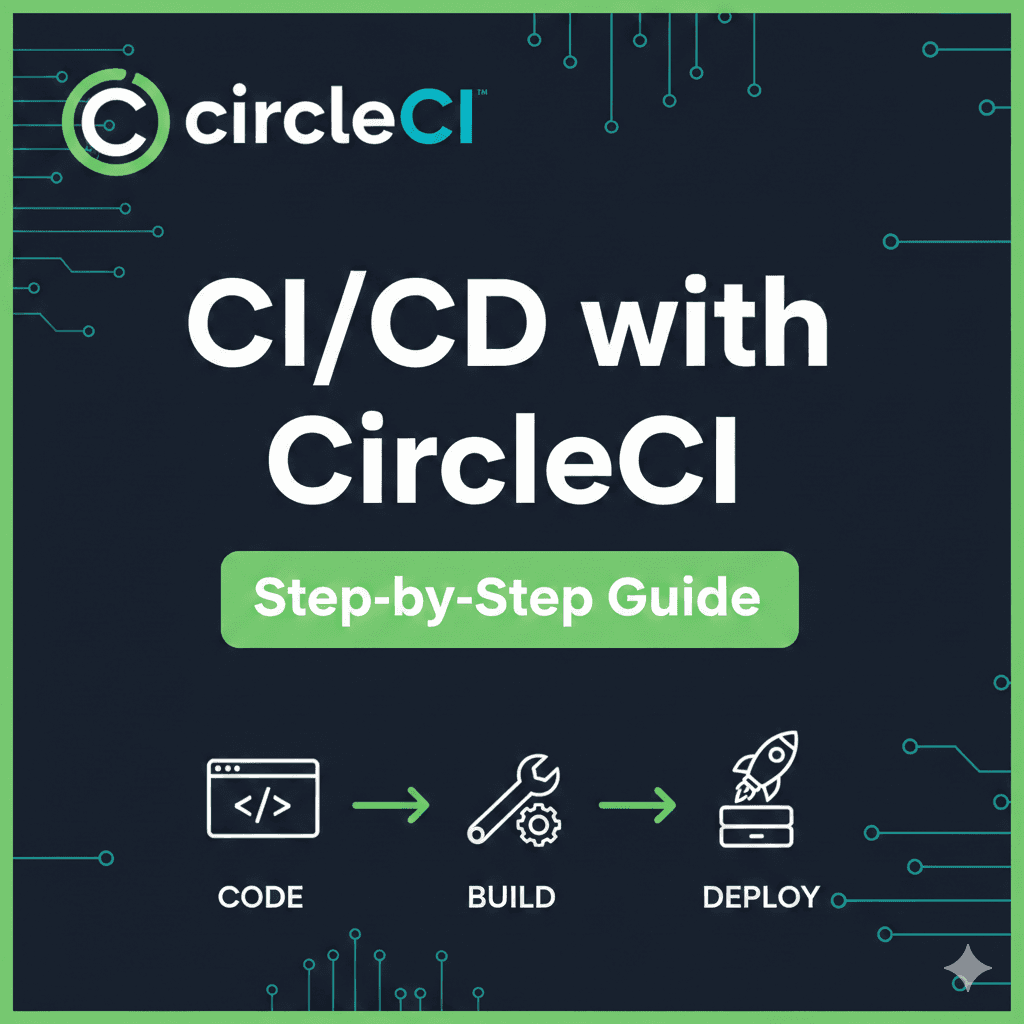
CI/CD with CircleCI | Step by Step guide
As a developer, writing code isn’t enough, you need to develop skills to be able to put your work online for everyone to see. In the modern software engineering, deployment isn’t enough. The changes you make should reflect quickly as well. That’s where CI/CD comes in. Continuous Integration and Continuous deployment allows you to build, test and deploy your application and any changes without a need of manual intervention.
In this article I’ve compiled a comprehensive guide on setting up a CI/CD pipeline for a Django application, from repository setup to deployment using Docker in EC2. Most of it can be applied to other frameworks as well.
Prerequisites
Basic knowledge of Git, Docker and Django.
A GitHub account.
A server (e.g., an EC2 instance or any machine accessible via SSH).
CircleCI account (integrated with GitHub).
Docker Hub and AWS credentials.
Background
What will we be doing in this tutorial?
The goal is to setup our project to run on docker. Test it locally, push the image to a repository(DockerHub in this case). Now, we can use this image anywhere to run our project with the same settings.
So, we will log into a server(Ec2) using ssh. Pull the docker image. And run it in the server itself. This entire process will be written in the config file. Make sure to go through it carefully. Everything else is just the setup to make sure the workflows defined in config.yml file work properly.
This tutorial is just going to help you make your hands dirty. You’ll need to understand more to deploy your own application. I will try to clarify on topics that require more exploration.
Step 1: Set Up a Github Repository
Create a Repository: Login to GitHub and create a new repository named
django-circleci-demoClone the Repository:
git clone https://github.com/<your-username>/django-circleci-demo.git
cd django-circleci-demo
- Initialize a Django Project:
django-admin startproject myapp
python manage.py runserver
4. Commit and Push Code:
git add .
git commit -m "Initial commit"
git push origin main
Step 2: Configure the server with SSH
(When initially setting up a server, you’ll either download a .pem file and use it to access the server everytime, or keep it in .ssh config and create a username to login using this or other settings. With the below approach, you can generate a ssh key in your local machine, then login to your server with in browser shell or other ways, copy the public key, and then use this key to access that server from terminal in your local machine.)
Set Up SSH Access:
Generate an SSH key pair
ssh-keygen -t rsa -b 4096 -C “your-email@example.com”
3. Copy the public key to your server in .ssh/authorized_keys.
4. Test SSH Access: ssh user@your-server-ip
5. Set Up the Server:
- Install Docker:
sudo apt update
sudo apt install docker.io
sudo systemctl start docker
sudo systemctl enable docker
- Install AWS CLI:
curl "https://awscli.amazonaws.com/awscli-exe-linux-x86_64.zip" -o "awscliv2.zip"
unzip awscliv2.zip
sudo ./aws/install
Step 3: CircleCI Configuration
- Add CircleCI to the Repository: Go to CircleCI.
- Connect your GitHub repository to CircleCI.
2. Set Up Environment Variables:
Navigate to Project Settings > Environment Variables in CircleCI.
Add the following variables:
DOCKER_USERNAME: Your Docker Hub username.DOCKER_PASSWORD: Your Docker Hub password.AWS_ACCESS_KEY_ID: Your AWS Access Key ID.AWS_SECRET_ACCESS_KEY: Your AWS Secret Access Key.
(Make sure the IAM user you’re using has enough permissions for accessing EC2 server, if your application has other components, then the user should have those permissions as well. Using ECR instead of DockerHub for pushing docker images is a common approach as well. If you’re planning to go through this approach, ECR permissions will also be required.)
SERVER_HOST: Server IP.SERVER_USERNAME: Server username.SERVER_PASSWORD: Server password.BE_ENV: Environment variable specific to the project. You canbase64encode the variables when keeping it in circleci config, and decode it in the server itself to use it for enhanced security.
Step 4: Dockerize the Django App
- Create a
Dockerfile:
FROM python:3.10-slim
WORKDIR /app
COPY requirements.txt /app/
RUN pip install -r requirements.txt
COPY . /app/
CMD ["python", "manage.py", "runserver", "0.0.0.0:8000"]
2. Add requirements.txt:
Django>=3.2,<4.0
3. Build and Test Docker image Locally:
docker build -t django-circleci-demo .
docker run -p 8000:8000 django-circleci-demo
Step 5: Push Docker Image to Docker Hub
- Log In to Docker Hub:
docker login -u <DOCKER_USERNAME> -p <DOCKER_PASSWORD>
2. Push Image:
docker tag django-circleci-demo <DOCKER_USERNAME>/django-circleci-demo
docker push <DOCKER_USERNAME>/django-circleci-demo
Step 6: CircleCI Pipeline
- Create
.circleci/config.yml:
version: 2.1
jobs:
  build-and-deploy:
    docker:
      - image: circleci/python:3.10
    steps:
      - checkout
      - setup_remote_docker
      - run:
          name: Install Docker
          command: |
            sudo apt-get update
            sudo apt-get install -y docker.io
      - run:
          name: Build Docker Image
          command: docker build -t django-circleci-demo .
      - run:
          name: Push to Docker Hub
          command: |
            echo $DOCKER_PASSWORD | docker login -u $DOCKER_USERNAME --password-stdin
            docker tag django-circleci-demo $DOCKER_USERNAME/django-circleci-demo
            docker push $DOCKER_USERNAME/django-circleci-demo
      - run:
          name: Deploy to EC2
          command: |
            sshpass -p $SERVER_PASSWORD ssh -o StrictHostKeyChecking=no $SERVER_USERNAME@$SERVER_HOST "
            docker login -u $DOCKER_USERNAME -p $DOCKER_PASSWORD &&
            docker pull $DOCKER_USERNAME/django-circleci-demo &&
            docker run -d -p 8000:8000 $DOCKER_USERNAME/django-circleci-demo"
workflows:
  version: 2
  build-and-deploy:
    jobs:
      - build-and-deploy
Step 6: Access the application
Navigate to http://<your_ec2_public_ip>:8000